Did you know that nearly 80% of women own at least one garment they never wear because the length isn’t quite right? That’s a closet full of potential just waiting to be unlocked.
Mastering this fundamental sewing skill transforms your wardrobe. You can say goodbye to expensive tailor bills for simple alterations. Instead, you gain the power to customize any piece to fit you perfectly.
This friendly, comprehensive tutorial is your guide. We’ll walk you through the entire process from start to finish. You’ll learn professional techniques used in studios, all from the comfort of your own home.
The methods covered here work for store-bought finds and handmade creations alike. We focus on clear, step-by-step instructions that demystify the process. Whether you’re a first-timer or have experience with a needle and thread, you’ll find the guidance you need.
By the end, you’ll know how to handle different fabric types and special details. The confidence to achieve a clean, polished finish on any project is within reach. This skill also applies to skirts, tunics, and much more, making it a versatile addition to your craft repertoire.
Key Takeaways
- Save significant money by avoiding professional alteration services for simple length adjustments.
- Gain the confidence to customize any garment in your closet to your ideal fit and style.
- Follow clear, step-by-step instructions designed for both complete beginners and those with sewing experience.
- Learn both hand-sewing and machine-sewing techniques to create a durable, professional-looking finish.
- Understand how to work with various fabrics, from delicate chiffon to sturdy denim, and handle special design elements.
- The core skills you learn are directly transferable to hemming skirts, pants, curtains, and other projects.
- Equip yourself with a practical, lifelong skill that increases the value and wearability of your entire wardrobe.
Essential Tools and Materials for Hemming
A well-prepared toolkit transforms a daunting sewing project into a manageable, even enjoyable, task. You don’t need a professional studio. With a few key items, you can achieve clean, polished results that rival a tailor’s work.
Good preparation prevents poor performance. This old adage rings especially true for garment alterations.
Fabric Chalk, Scissors, and Measuring Tape
Accurate marking and cutting are foundational. Use fabric chalk or a water-soluble marker to draw your guideline. These tools leave temporary lines that vanish later.
Sharp scissors reserved only for fabric are non-negotiable. Dull blades fray edges and ruin your line. A flexible measuring tape is best for checking the length in inches all around the garment.
Needles, Thread, and Pins
Choose a sharp needle suited to your material’s weight. Fine sewing thread should match the dress color perfectly. This makes your stitches nearly invisible on the finished piece.
Straight pins securely hold the folded hem in place. An iron is crucial for pressing crisp, flat folds before you stitch. If using a machine, ensure it’s threaded and set for a basic straight stitch.
Preparing Your Dress for a Flawless Hem
Achieving a professional-looking hem starts with proper fitting and garment preparation. This crucial step ensures your finished piece fits exactly as envisioned.
Fitting Your Dress with the Appropriate Shoes
Always wear the shoes you’ll most often pair with the dress. Different heel heights dramatically alter where the hemline should fall.
Stand naturally with your feet flat on the floor. Avoid any forward tilt that can throw off measurements. This prevents an uneven edge.
Decide on your ideal length. Consider the dress style, the occasion, and what flatters your proportions. A knee-length cut or a style a few inches above the ankle are popular choices.
Having a helper during fitting is invaluable. They can mark the hemline evenly all around while you stand in place.
Pre-wash the garment according to its care label. This critical step prevents shrinkage that could make the hem too short after laundering.
Iron the dress before starting. Removing wrinkles ensures you work with smooth fabric. This makes measuring and cutting much more accurate.
Take your time during this phase. Rushing through fitting and measuring is where most mistakes happen. Precision here saves you from redoing work later.
Marking and Measuring the Hemline
An even hemline separates a homemade look from a professionally tailored finish. This step locks in your desired length with clear, physical guides on the material.
Precision here is non-negotiable. A crooked mark will result in an uneven edge, no matter how neat your stitching is later.
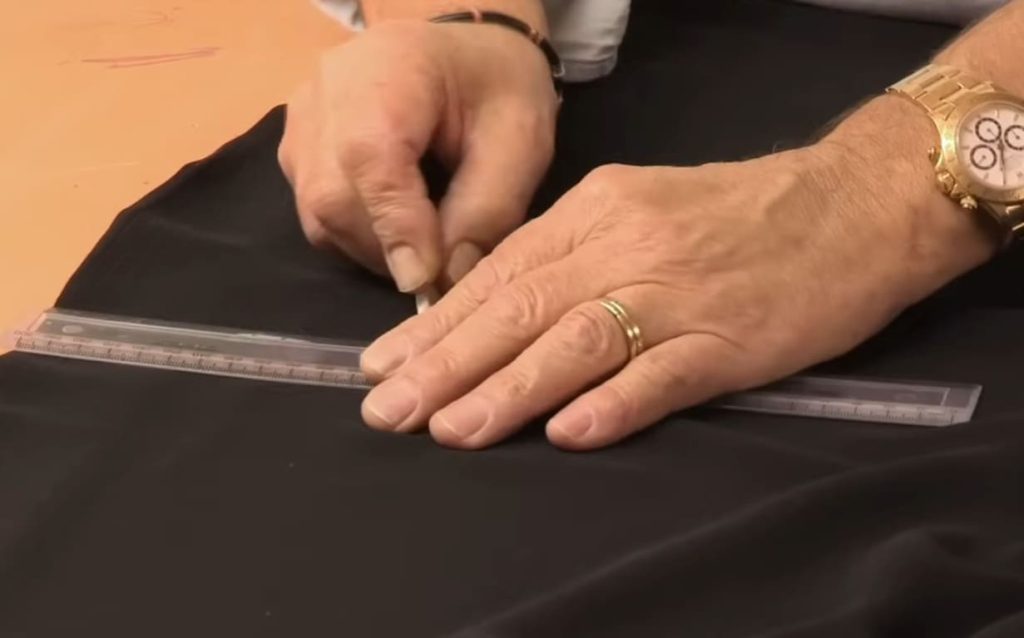
Using Fabric Chalk and a Ruler
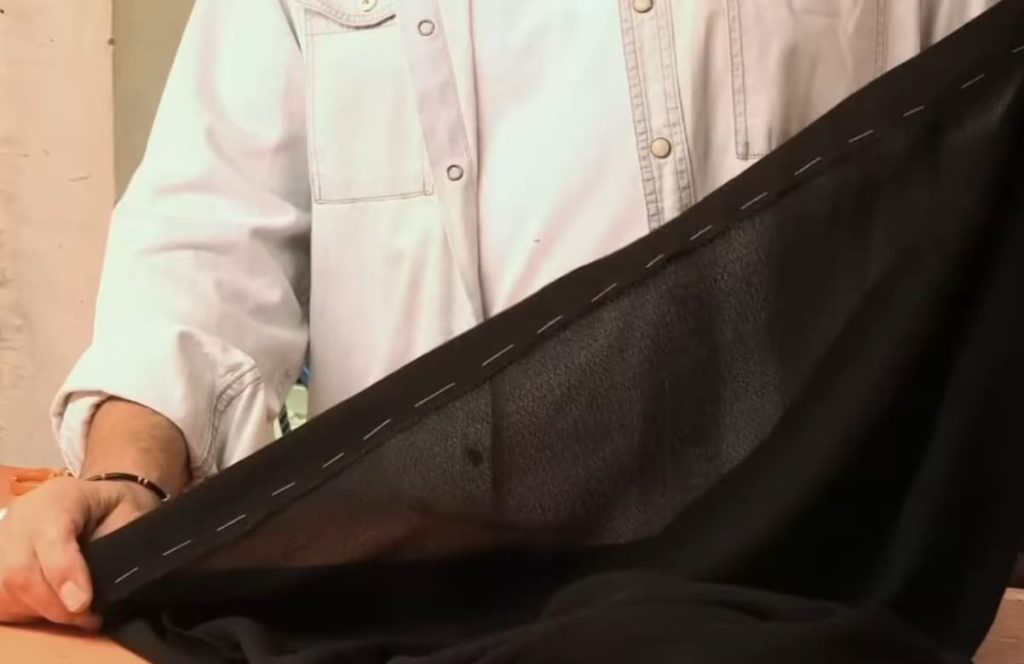
First, turn the garment inside out and lay it completely flat. Use your fabric chalk and a ruler to make small marks every few inches around the bottom.
These marks are your reference points. Connect them carefully with your ruler to draw one smooth, continuous guide line.
Always draw a second, parallel line about one inch below the first. This is your cutting guide, providing the extra material needed to fold under and create the finished hem.
Aligning the Hemline for Evenness
Double-check your measurements before cutting. Fabric can shift, so verify your guide line is consistent all the way around.
For patterned material or full skirts, measure with the dress hanging as it will be worn. This ensures the hemline follows the garment’s natural drape, not just a flat surface.
If you’re unsure, a friend can help. Wearing the inside-out piece, have them mark the perfect length for you. Following these instructions is the best way to guarantee a beautifully even result.
Cutting and Folding Techniques for a Perfect Edge
The moment you pick up your scissors is where precision becomes permanent. This stage transforms your marked guidelines into the final edge of your garment. Careful technique here ensures a clean, professional result.
Before any cutting, prepare your workspace. Lay the dress completely flat on a large surface. A full skirt may require working on the floor. Smooth out all wrinkles and align the side seams perfectly. This prevents uneven cuts.
Trimming Excess Fabric Accurately
Use your sharpest shears to cut fabric along the lower marked line. Make long, confident strokes. This removes the excess fabric cleanly. You can save this leftover material for other projects.
Remember, you are not cutting at the final hemline. You are creating a seam allowance. For a standard finish, leave about three-quarters of an inch of material below your desired length. This extra fabric will be folded under.
The width of this allowance can vary. Heavier materials often need a deeper fold for structure. Delicate fabric looks best with a narrow, lightweight hem. Press this folded edge firmly with an iron to set it in place before stitching.
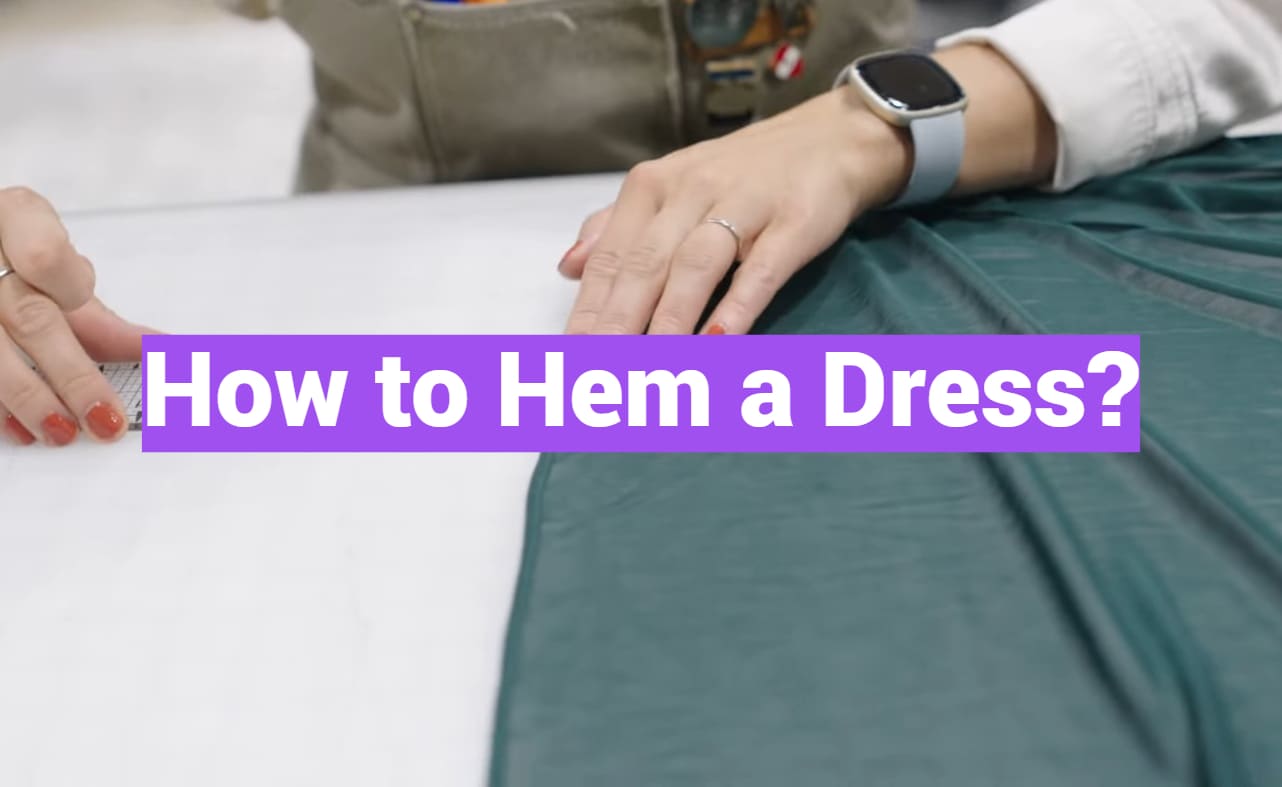
How to Hem a Dress?
The stitching phase is where your marked lines become a permanent, polished finish. All your measuring and cutting now leads to this final, rewarding act of creation.
Step-by-Step Sewing Instructions
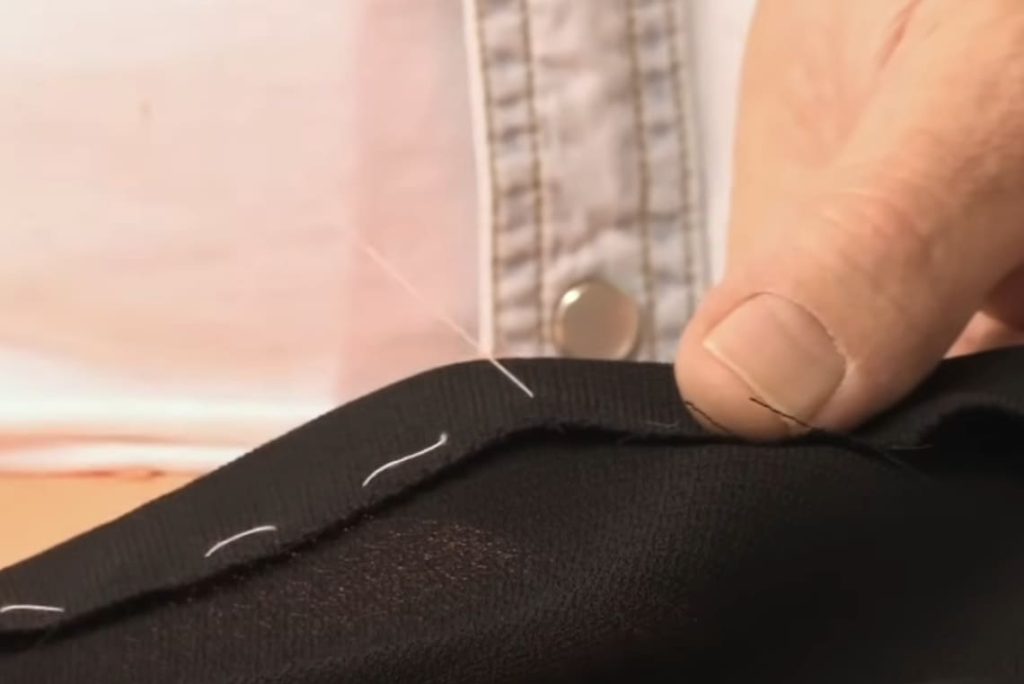
Begin by creating a clean folded hem. Bring the raw edge up to meet your marked line on the inside of the garment.
Tuck the top of this fold under about a quarter-inch to encase the raw edge. Secure it with straight pins placed vertically every few inches.
Next, thread a sharp needle with about 20 inches of matching thread. Tie a firm knot at the end. Your sewing thread should blend perfectly with the fabric.
Start at a side seam on the wrong side. Insert the needle to catch a tiny loop of the main fabric, not going through to the right side.
Now, execute the blind hem stitch. Pick up a small stitch on the folded allowance below. Move a quarter-inch and repeat: catch a loop above, then a stitch below.
This alternating pattern is the core of the blind hem stitch. Work your way around the entire hem, keeping tension even to avoid puckering.
When you return to the start, secure your work. Make a small loop with the thread and pass the needle through it to form a knot. Do this twice for strength.
Trim the excess thread and remove all pins. Turn the garment right side out to reveal your handiwork. The hem should lie flat and be nearly invisible from the outside.
Following these step-by-step instructions ensures success. Mastering this sewing technique for hemming dress projects builds confidence for many future alterations.
Special Hemming Considerations for Formal and Layered Dresses
The elegance of a beaded gown or a multi-layered skirt hinges on precise hemming that preserves its beauty. Wedding gowns and special occasion dresses often feature delicate fabric and intricate details. These elements demand extra patience and specific techniques beyond basic alterations.
Preserving Details on Beaded and Lace Dresses
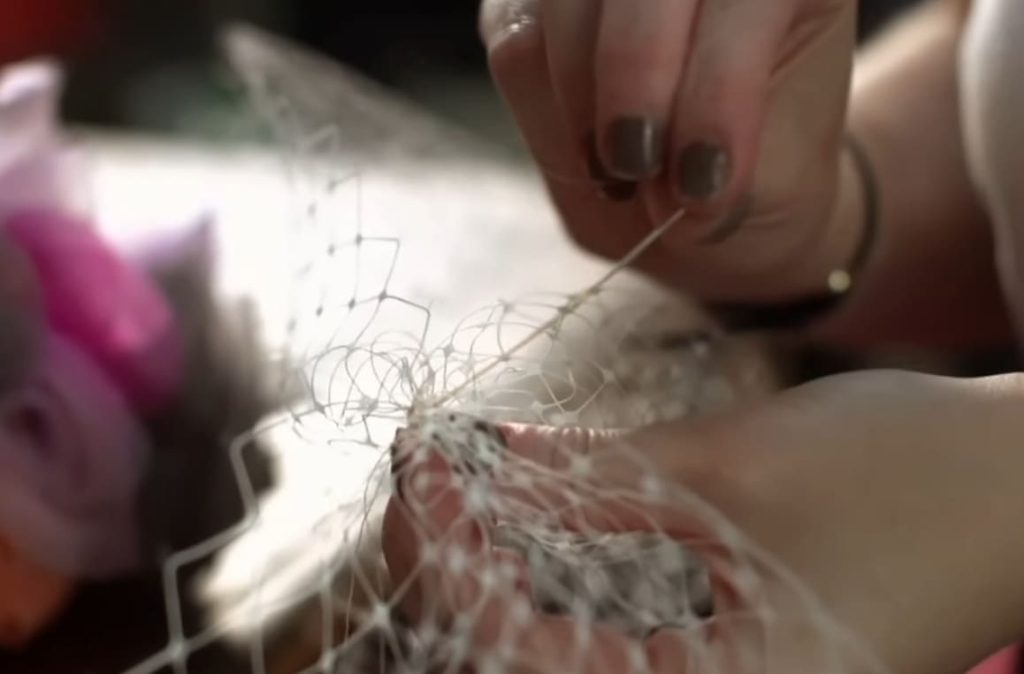
Embellished hemlines require extreme caution. Cutting through a beaded edge incorrectly can cause entire sections to unravel. For dresses with lace appliqués or scalloped borders, consider shortening from the waist instead. This advanced method preserves the original design.
Delicate materials like chiffon also need gentle handling. Use sharp tools to prevent snags. If you’re unsure, consulting a professional for complex wedding dress alterations is a smart move.
Handling Multiple Fabric Layers Separately
Layered skirts, such as tulle over satin, must be hemmed individually. Start with the innermost lining. It should be the shortest length.
Work outward to the top fabric. Keep each subsequent layer about a quarter inch longer. This creates the proper drape and fashion silhouette. Built-in petticoats may also need adjustment to maintain the skirt‘s full shape.
Handling each hem separately ensures a clean finish. It prevents bulky, uneven edges that can ruin the look like of the garment. Matching thread color is crucial for invisible stitches on fine chiffon and other formal fabric.
Hand-Sewing vs. Machine-Sewing: Tips and Tricks
Whether you reach for a needle or a sewing machine, each tool offers distinct advantages for different projects. Your choice depends on the fabric type, the desired finish, your skill level, and the time you have. Understanding this helps you pick the best way for every hemming dress project.
Hand-sewing with a blind hem stitch provides superb control. This step creates nearly invisible stitches from the garment’s right side. It’s the ideal way to handle delicate silks or formal gowns where the hem must disappear.
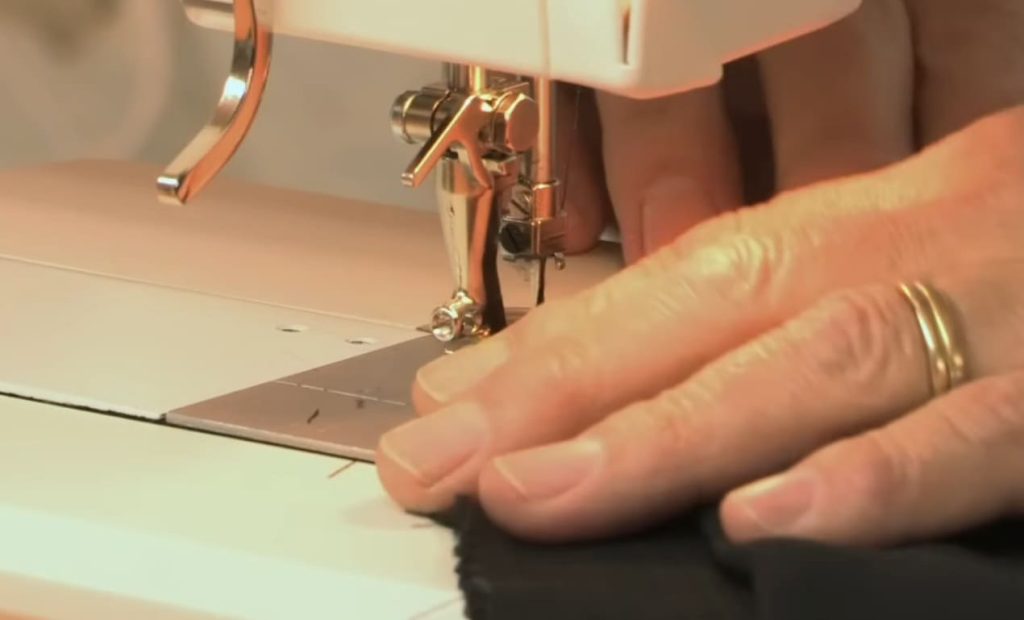
Using a machine is much faster and yields a very strong bond. A basic machine stitch is perfect for sturdy materials like denim. For stretchy knits, a narrow zigzag works better. Always test your settings on a scrap first.
Choosing the Right Stitch and Thread Color
Selecting the perfect thread color is crucial for both methods. The thread should blend seamlessly into the fabric. This makes your stitches virtually undetectable on the finished piece.
For light materials like chiffon, consider a rolled hem. This technique creates a tiny, elegant edge without bulk. You can sew it by hand or with a special machine foot.
No-sew solutions are great for quick fixes. Fusible hem tape creates a temporary bond when ironed between the fold. For a rental garment, safety pins inside can adjust the length without a permanent change.
Conclusion
You’ve just unlocked a powerful skill that revitalizes your wardrobe and boosts your sewing confidence. This comprehensive tutorial has shown you the way to achieve clean, professional alterations right at home.
The same method works for a skirt, tunic, or blouse—any garment that looks like a dress. A key rule is to match the original hem‘s style. If the existing folded hem is one inch, replicate it. This hides the raw edge and keeps the fashion piece looking authentic.
Take your time and practice. Each project makes your technique sharper. You’ll remove excess fabric neatly and secure a perfect edge every place.
Now you can customize any of your dresses to the ideal length. Hemming dress projects at home saves money and lets you express personal style. Enjoy your new, empowering sewing skill!